 Photo by Markus Winkler on Unsplash
The way people order food has changed fast. Guests want speed, clarity, and less waiting around, while restaurants want tools that are easy to update and simple for staff to manage. That is where QR code menus come in. They let us put the menu directly into a guest’s phone with one scan, which can make the whole dining experience smoother from the very first minute.
A QR code menu is more than a trendy add-on. When we set it up well, it can save printing costs, reduce mistakes, make updates easier, and help guests browse without feeling rushed. It also gives us more room to share useful details like ingredients, allergen notes, photos, and specials without stuffing everything onto one printed page.
In this guide, we will walk through how to create a QR code menu for a restaurant from start to finish. We will look at what to prepare, where the menu should live, how to design it for phones, how to generate the QR code, and how to place it in a way that actually works in the real world.
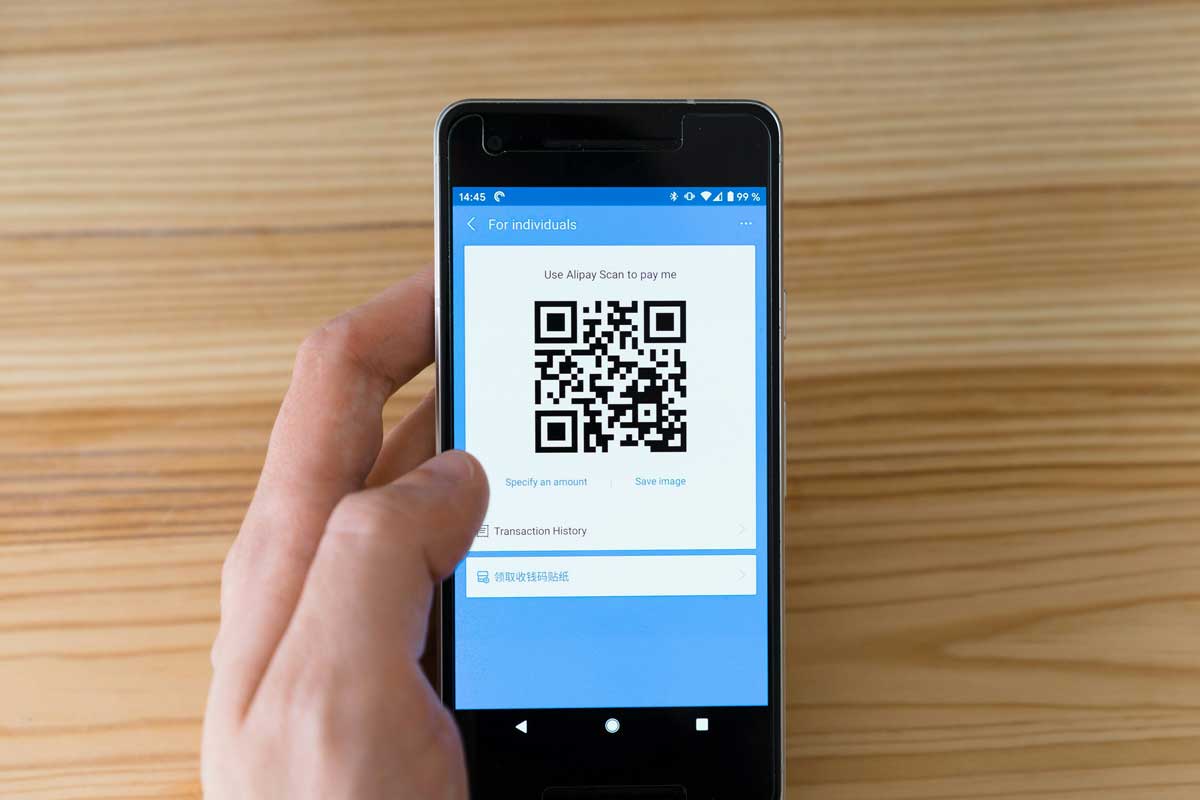
A QR code menu is a digital version of our restaurant menu that guests open by scanning a QR code with a phone camera. Instead of handing over paper menus, we place a code on tables, counters, signs, receipts, or table tents. Once scanned, it opens a menu page, PDF, ordering site, or landing page on the guest’s device.
At its simplest, the QR code is just the doorway. The real menu sits online somewhere. That means the experience only works well if both parts are done properly, the code needs to scan easily, and the menu behind it needs to load quickly and look good on mobile screens.
There are practical reasons why so many restaurants have adopted QR code menus. Some of them are obvious, and others only become clear once we start using one regularly.
Printed menus become expensive and annoying to replace every time we change a price, run out of an item, or add a seasonal special. With a digital menu, we can update content in minutes.
Menus get worn out, stained, torn, or outdated. QR code menus reduce the need to reprint large batches over and over.
Some guests appreciate being able to use their own phones instead of handling shared paper menus. Whether it is for hygiene, convenience, or personal preference, the experience feels more self-directed.
Guests can look over the menu right away without waiting for a server to bring one. That can help service move a little faster, especially during peak hours.
Digital menus allow us to add details that are hard to fit into print, such as spice levels, dietary tags, popular items, or ingredient descriptions.
A QR code menu works best when we know exactly what we want it to do. It may sound basic, but this step saves a lot of trouble later.
We should first ask a few questions:
The answers help us decide on structure, platform, and design. A small cafe may only need one simple page, while a busy restaurant with multiple service styles may need a more flexible setup.
Before we create the QR code, we need the menu content ready. This is the part that takes the most care, because the menu itself is what guests will actually use.
Each dish should include the basics:
It helps to keep item names clear and familiar. Guests should not have to guess what a dish is.
A menu description should be short, useful, and readable. We do not need to write a full story for every dish. A few well-chosen words are enough.
For example:
Smoked Turkey Club
Smoked turkey, bacon, lettuce, tomato, cheddar, and garlic aioli on toasted sourdough.
That gives guests the key details without making them work too hard.
Photos can be helpful, especially for signature dishes, but too many images can slow the page and make the menu feel crowded. A handful of well-lit, high-quality photos is usually enough. The menu should still be quick to load and easy to browse.
Guests should not have to hunt for items. Categories might include:
The right categories depend on the restaurant style, but the goal is the same, simple scanning and quick decision-making.
The QR code itself does not contain the menu, it points to a link. That link needs a reliable home.
This is often the best choice. A webpage is flexible, easy to update, and works well on phones if designed correctly. We can host it on our restaurant website or create a dedicated menu page.
A PDF is easy if we already have a print layout. It can work fine, but it is often less comfortable on a phone than a proper webpage. Guests may need to zoom in or scroll in awkward ways if the file is not formatted carefully.
There are many third-party platforms made for restaurants. These tools often include digital menu creation, QR code generation, editing tools, and sometimes ordering features. They can be useful if we want a quicker setup.
If we want guests to order directly from their phones, the QR code can point to an ordering page instead of a simple menu view. That works especially well for fast-casual places, cafes, bars, and takeaway-focused businesses.
This part matters more than many people expect. A QR code menu should be built for a small screen, not a desktop monitor.
Guests should be able to read the menu without zooming in. That means:
If the page feels cramped or busy, people will get frustrated quickly.
Price visibility is important. Guests usually want to compare items fast, so prices should appear in a consistent place throughout the menu.
Too many colors, typefaces, icons, and decorative elements can make the menu harder to use. A polished menu does not need to be flashy. It needs to be clear.
Small tags can help a lot, especially if the restaurant offers many options. We might include:
These markers help guests make choices faster and feel more confident about ordering.
Once the menu is ready and the link is live, we can create the QR code that guests will scan.
There are plenty of tools online, and not all of them are equal. We should look for features like:
There are two main types of QR codes.
A static code points to one fixed link. If the menu changes and the link changes, we may need to create a new code.
A dynamic QR code lets us change the destination later without replacing the code itself. That is especially useful for restaurants, since menus often change with seasons, availability, and pricing updates.
If flexibility matters, dynamic is usually the better option.
We can make the code look more like our restaurant by adding a logo, brand colors, or a short phrase like “Scan to view menu.” That can make the code feel more intentional, but we still need to keep it easy to scan.
This step is easy to skip and expensive to ignore. A QR code menu should be tested in real conditions before it goes live.
We should test using different phones, including iPhone and Android devices. Older phones matter too, since not every guest has the latest model.
If the page opens slowly, people may lose patience and give up. Heavy photos, cluttered code, or poor hosting can all cause delays.
The menu should fit the screen properly, text should be readable, and buttons should be easy to tap. If guests need to pinch and zoom just to read the specials, the experience is broken.
A code that scans perfectly in an office may not work as well under dim lights, glare, or on a curved tabletop. We should test it where guests will actually use it.
Once the code works, we need to get it in front of customers.
The best placement depends on the restaurant layout and service style, but the code should always be easy to notice and scan.
Not every guest will automatically know why the code is there. A short line helps a lot:
That little instruction makes the code much more useful.
The code should be large enough to scan from a normal sitting distance. It also needs enough white space around it so phone cameras can detect it easily. If the code is too crowded or tiny, scanning becomes a chore.
A QR code menu is only helpful if the information stays correct. Nothing creates confusion faster than a menu that shows items we no longer serve.
We should update the menu whenever we:
This makes updates much easier. Instead of reprinting signs every time something changes, we can adjust the destination behind the code and keep using the same printed material.
Digital menus are ideal for daily or weekly specials. That flexibility can help us promote limited-time items without needing a redesign every time.
A QR code menu should make work easier, not create more confusion for staff.
Staff should know:
Some guests may be unfamiliar with QR codes, and others may just prefer the old way. A friendly explanation helps keep the experience smooth.
Even if QR code menus are the main system, having a few printed menus available is still useful. That keeps us ready for guests who need another option.
A good QR code menu is not just functional, it is easy, readable, and pleasant to use.
Guests should scan and reach the menu quickly, without extra steps. We should avoid forcing app downloads or account creation unless absolutely necessary.
Small text is hard to read on a phone. It is better to make the menu feel a little spacious than to pack in too much at once.
Large images slow the page down. We should compress them without making them look blurry.
Do not hide the code in a busy design. Give it room to breathe so phone cameras can recognize it without trouble.
If the page allows it, we can also add the restaurant’s address, phone number, hours, and perhaps links to social media or directions.
A few simple errors can make a QR code menu frustrating instead of helpful.
A tiny code may look neat, but it can be hard to scan from a table.
If the menu page is confusing, slow, or cluttered, people may stop using it.
This creates trust issues and can lead to awkward checkout moments.
Guests want to browse, not read a wall of words.
A code should always be checked before guests see it. One broken link can affect many tables at once.
Creating a QR code menu for a restaurant is not complicated, but it does take planning. We need to think about the menu content, the online setup, the design, and how guests will actually use it while sitting at a table or standing at the counter.
When we do it well, a QR code menu makes life easier for everyone. Guests get quick access to the menu, staff spend less time dealing with outdated printouts, and updates become much simpler. It is a small change with a big impact, especially when the menu is clear, mobile-friendly, and easy to scan.
The process is straightforward, organize the menu, choose a digital home for it, generate the code, test it carefully, print it clearly, and keep it current. That is how we turn a simple QR code into a practical tool that fits the way restaurants work today.
Discover our other works at the following sites:
Danetsoft is a global web agency headquartered in Indonesia, specializing in web development, managed hosting, and web publishing platform.
© 2026 Danetsoft. Powered by HTMLy